Polyurethane will protect floors from water, scratches, dents, and other damage. So, how to apply it on floors?
To apply polyurethane on floors, prep the floor by cleaning it, sand the floor, apply polyurethane with a sprayer, roller, or application pad, and apply the second coat.
You must wait 24-48 hours for the sealer to dry before walking over it. You can use different types of polyurethane; oil-based, water-based, or exterior polyurethane.
Is Polyurethane Strong Enough To Protect Floors?
Polyurethane is strong enough to protect floors from moisture, water, scratches, dents, and other damage. When dry, polyurethane forms a top layer made of urethane plastic that acts as a “shield” and protects the surfaces underneath it.
Urethane plastic is a flexible compound that expands or contracts during temperature changes. This means the coating will withstand temperature changes without the coating cracking.
The hard plastic material on the top layer also makes the floor strong enough to withstand constant use, heavy furniture, and heavy foot traffic.
However, polyurethane isn’t waterproof and it will allow water to penetrate its coating if exposed to constant water. So, don’t apply it on bathroom floors.
Oil-based vs. Water-based Polyurethane (For Floors)
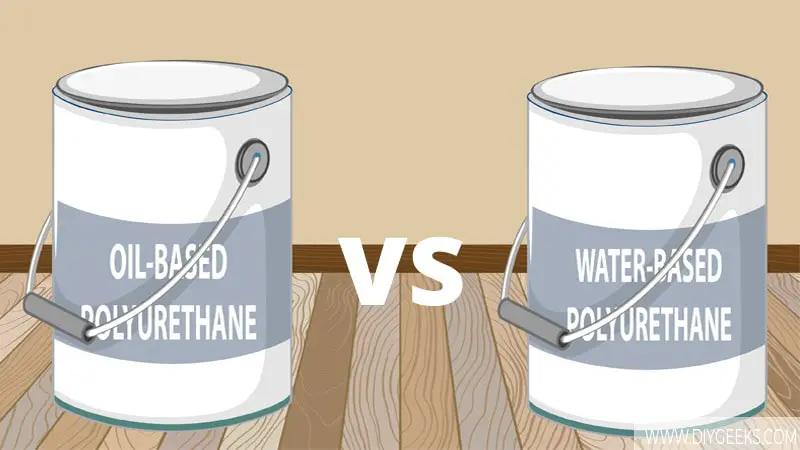
You can use two types of polyurethane on floors: oil-based and water-based. Both types are durable and have similar qualities. However, they have different solvents (water and oil) that give each unique feature.
Clarity
Polyurethane has no paint pigments, so it forms a clear coat finish that reveals the grain of the wood underneath.
Water-based polyurethane retains its clean finish longer than oil-based polyurethane. Oil-based polyurethane will start to yellow or have an amber tone finish after a while.
The Dry Time
Water-based polyurethane dries faster than oil-based polyurethane because it uses water as its solvent, and water evaporates faster than oil.
On average, water-based polyurethane will dry fully (cure) within 24 hours, while oil-based polyurethane will take 48 hours to dry fully.
Durability
Oil-based polyurethane is more durable as its particles have more time to harden and bond to the surface since the finish dries slower.
Water-based polyurethane will chip and peel after a few years, while oil-based polyurethane won’t.
Cleaning and Maintenance
Oil-based polyurethane doesn’t require as much maintenance as the stains often blend into the finish. Its amber-tone finish makes the floor hide stains easily. So you won’t need to take on much cleaning.
On the other hand, water-based polyurethane highlights stains on the floor due to its transparent finish. So, you must clean it more often. However, cleaning is easier since you can use soapy water. But, to clean oil-based poly you need to use a solvent.
Number of Coats Needed
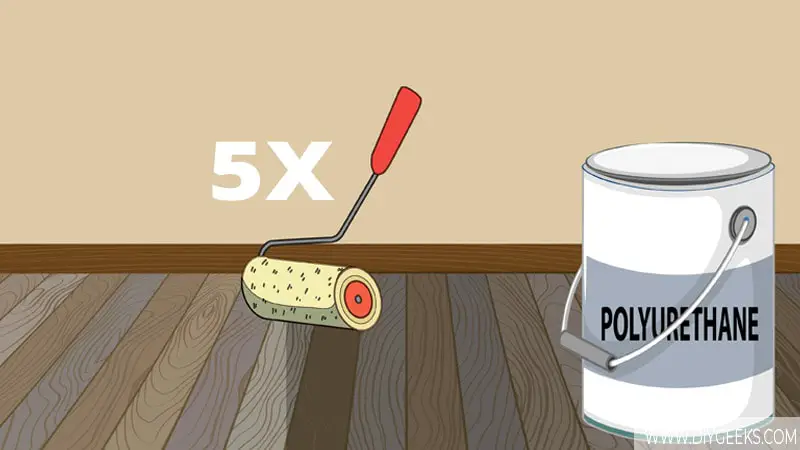
You need 2 -3 coats of oil-based polyurethane on your floor. Water-based polyurethane requires up to 5 coats for proper coverage, especially on a wood floor.
Final Verdict: Both types are great choices for your floor. But, oil-based poly is a better fit because it requires fewer coats and is more durable.
How to Apply Polyurethane to Floors?
To apply polyurethane on floors, do the following things.
- Prep the Wood Floor.
- Sand the Wood Floor.
- Apply Polyurethane.
- Apply the Second Coat.
The tools you need for this project are listed below.
- A vacuum
- 320-grit sandpaper
- A floor or orbital sander
- Clean rags
- Mineral spirits
- Paint applicator
- Water or oil-based polyurethane
- Wood filler
- Primer paint (optional)
Note: You must remove the existing finish if the wooden floor is already sealed. You don’t have to remove the finish if the floor is only painted (and not sealed).
1. Prep the Wood Floor
Clean the wood floor to remove debris and filth from the surface. Use a clean rag to remove dust and mineral spirits (or rubbing alcohol) to remove stubborn stains.
Polyurethane won’t stick if you don’t clean or remove dust from the floor. Also, dust and dirt will show through once the finish dries.
Repair the floor with wood filler if it has cracks, holes, or gouges. Apply the wood filer over the cracks, remove the excess, and allow it to dry before sanding it.
Replace damaged planks with new ones before sealing them.
If you don’t repair or replace the wood, the damage will be seen through the transparent finish, making your it look amateurish.
2. Sand the Wood Floor
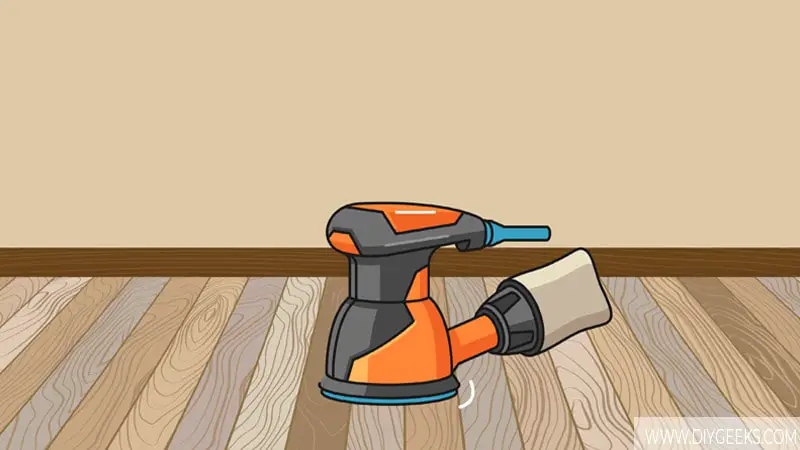
Sand the floor using 150-grit sandpaper and work your way to finer-grit sandpaper (240-grit). You can also use sanding pads or blocks instead of a power sander.
Sanding will remove imperfections and smooth the floor so the polyurethane can stick better. Re-clean the surface after sanding.
3. Apply Polyurethane
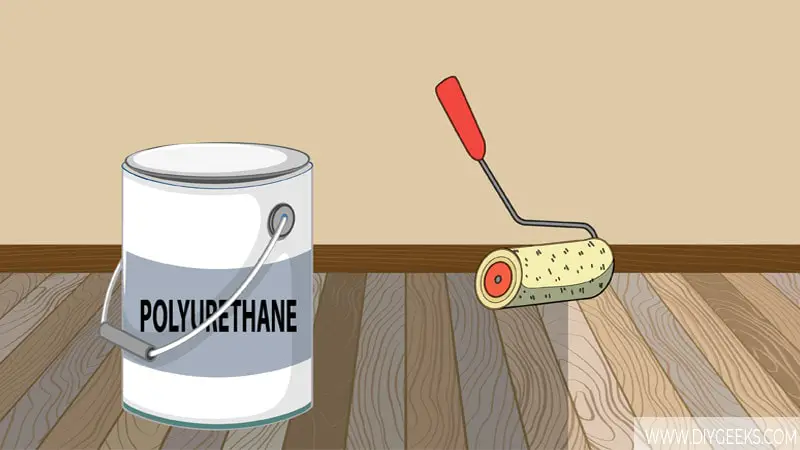
The best applicator for water-based polyurethane is a synthetic bristled paintbrush or a microfiber paint roller. The best applicator for oil-based polyurethane is a lambswool paint roller or a natural-bristled paintbrush.
You can spray polyurethane (both types), but you must thin the sealer, prime the sprayer, and spray correctly to avoid over-spraying.
You can use applicator pads to apply the sealer, too. Applicator pads are fitted in long poles and help you cover larger surfaces faster.
To apply polyurethane, do the following things.
- Use a paint roller, applicator pad, or paint sprayer.
- Ensure to cover the entire floor with the first coat.
- You can use a paintbrush to apply it on tight corners.
- Wait for one coat to dry before applying the next one.
- While waiting for polyurethane to dry, place your paint roller into a refrigerator to avoid clogged paint.
5. Apply the Second Coat
After the first coat dries, do the following things.
- Sand it with ultrafine-grit sandpaper.
- Remove dust from the coating.
- For water-based polyurethane, apply 4 more coats (5 in total).
- For oil-based polyurethane, apply 2 more coats (3 in total).
- Wait until one coat dries, sand it, and then apply the next one.
- Don’t sand the final coat.
- Wait until the final coat dries fully (1-2 days) before walking over it.
Water-based poly takes 24 hours to fully dry (cure), while oil-based poly takes 48 hours to fully dry (cure). The finish is strong enough to withstand foot traffic and furniture weight after it has cured.
The finish will turn sticky or take longer to dry if you use the floor before it has fully dried (cured).
Do You Need To Stain The Floor Before Applying Polyurethane?
You don’t need to stain the floor before applying polyurethane as the sealer can stick over bare wood floor. You can only apply two coats of wood stain if you want to add beauty and color to the floor.
Polyurethane has a transparent finish (colorless) so it doesn’t add color to the surface. It will reveal the texture and the wood grain underneath it. If you stain the floor, the color shade of the stained wood will be revealed after you apply polyurethane.
Polyurethane is a topical sealer, meaning it sticks over stains and other paints. You can also paint a wooden floor, wait for the paint to dry, and then seal it. Polyurethane will protect the paint or stain from moisture, water, or other damage.
How Long Does Polyurethane Last On Floors?
Polyurethane lasts between 5 and 20 years on floors. The exact time polyurethane will last on floors depends on the condition and type of the floor, room type, the polyurethane coating, and whether the finish is exposed to constant water or not.
For instance, polyurethane will last longer in a bedroom than on a bathroom floor. That’s because a bathroom floor is exposed to constant water that can damage the finish, while the bedroom isn’t.
The durability of the finish depends on the type of polyurethane. For example, oil-based polyurethane will last longer than water-based polyurethane.
Polyurethane Alternatives For Floors
Polyurethane alternatives for floors are as follows.
- Varnish: There are different types of varnishes you can use, including acrylic, oil, exterior, and spar varnish.
- Wood oils: Wood oils like Tung oil, Linseed oil, and Danish oil protect your floor and give it a nice luster.
- Lacquer: Lacquer is similar to polyurethane in terms of durability and protection, but you must pick the right type for floors.
- Shellac: Shellac is another hard and strong alternative. However, shellac isn’t weather-resistant.
- Wax: You can also use wax on your floor. But, you must buff the wax regularly to retain the finish.


