You can spray paint wooden surfaces as the wood is a porous material and will absorb it. For outdoor surfaces, use oil-based spray paint, and for indoor surfaces use water-based spray paint.
To spray paint wood, remove the existing finish, sand the surface, apply primer, and apply the spray paint.
You must sand and prime the surface first before painting it. After painting, seal the finish if you want to increase its durability so it lasts longer.
Do Spray Paints Adhere To Wood?
Spray paints do adhere to bare wood surfaces, but don’t adhere if the surface is sealed. Wood is a porous material and will absorb spray paint with ease that is applied at a high speed.
A sealed surface will prevent spray paint from adhering because it has a moisture-resistant coating that prevents it from penetrating the surface.
You must also sand the surface to remove imperfections and make it ready for paint.
Which Spray Paint Types Can You Use Over Wood?
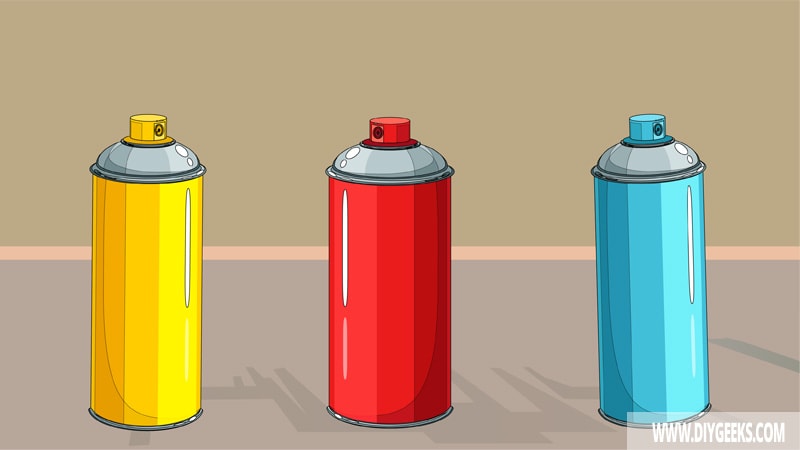
You can use water-based and oil-based Spray paint designed for wood. Don’t use Spray paint designed for metal as it has more additives that aren’t needed and costs more.
For indoor surfaces, use water-based spray paint as it has a low level of chemicals, doesn’t have an oily formula, dries faster, doesn’t require special prep work, is easy to work with, and is less likely to damage or discolor a surface.
It’s also thinner so it can penetrate the pores of the surface easier. Water-based spray paint takes 2 hours to dry on wood, meaning you can re-coat and complete the project faster. When dry, it produces a colorful (and bright) finish.
Don’t apply water-based spray paint for outdoor surfaces as they aren’t formulated with protective additives and will wash off if exposed to enough water.
For outdoor wood surfaces, use oil-based spray paint as they are formulated with protective additives and form a glossy finish to protect the surface. Rust-oleum and Krylon are two great choices.
Can You Spray Paint Wood Without Sanding or Priming?
You can spray paint wood without sanding or priming as it adheres regardless as long as the surface isn’t sealed. But, sanding and priming will improve the adhesion and help produce a smooth finish.
The purpose of sanding is to remove imperfections, even out the surface, and remove the previous finish (if any). The purpose of the primer is to cover the imperfections, fill holes on the surface, and provide a flat texture (undercoat) for the paint to stick to.
The surface will be riddled with imperfections and holes if you don’t sand and prime it. If you paint over a surface with imperfections, the finish won’t be smooth, and in rare cases, it will peel off.
You can skip applying primer for the following things.
- If the Surface is Perfect – If the surface is clean, smooth, and doesn’t have imperfections, you don’t need to prime. The finish will come out smooth since there isn’t anything affecting its quality.
- If the Finish is Matching – If the existing finish matches the color shade you want to use, you don’t need to prime. That’s because the existing finish won’t bleed through. In this case, the existing finish will act as an undercoat. However, you must still clean the surface.
- Quick Fix – If you need a quick fix, you don’t need to prime.
Applying primer is necessary for the following reasons.
- If the Surface is Rough – If the surface is rough, apply two coats of primer. In this case, the primer will cover the rough texture of the surface, and provide a smooth and flat layer for the paint to stick to. It’s recommended to sand the rough surface before priming.
- If the Surface is Patched– If the surface is patched or repaired, it will have several marks and bumps because of the wood filler, caulk, or glue used. So, you must prime the surface to cover these imperfections.
- If the Surface is Dirty – If the surface is riddled with stains, dirt, grease, and oils, you must seal it with a stain-blocking and moisture-resistant primer. The best option is a shellac-based primer. In this case, the primer will form a layer that will prevent the stains underneath from affecting the finish.
- On Fresh Wood – Fresh wooden surfaces have large pores and are more porous. This means they will absorb more paint than needed, and this can lead to wastage. You must seal porous surfaces with a stain-blocking primer to prevent over-absorption.
- Over an Existing Finish – If the surface is sealed, you must prime it. In this case, the primer will form a textured layer over the sealer that the paint can stick to. So, instead of paint sticking to the sealer directly (which it can’t), it will stick over the primer.
How To Spray Paint Wood?
To Spray paint wood, do the following things.
- Remove the Existing Finish (If Any).
- Sand the Surface.
- Apply Primer.
- Apply the Spray Paint.
The tools you need for this project are listed below.
- Medium-grit sandpaper
- Fine-grit sandpaper
- A clean rag or cloth
- Primer
- Spray paint
- A sealer (optional)
1. Remove the Existing Finish (If Any)
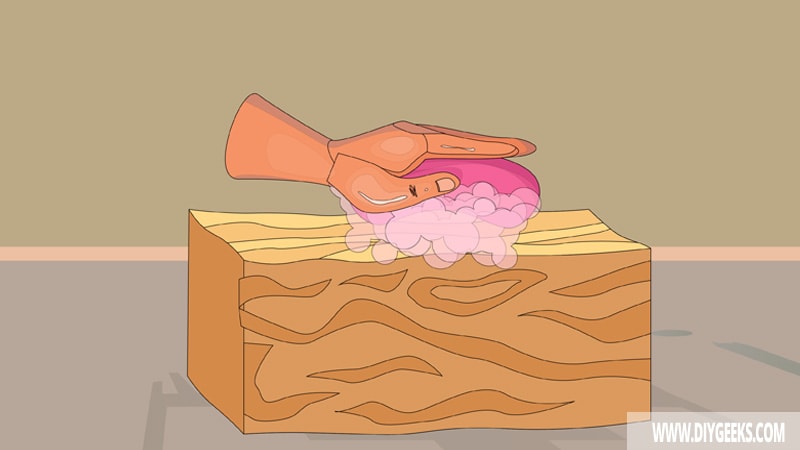
Remove the existing finish if the wooden surface is painted or sealed. If you don’t, the spray coating won’t adhere to it since the sealer coating will prevent penetration. To remove a sealer finish, use coarse-grit sandpaper (40-grit) or paint-stripping paste.
2. Sand the Surface
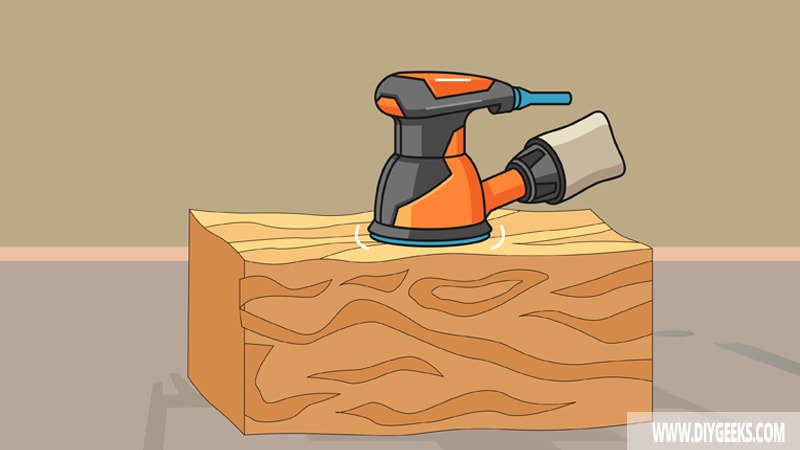
Sand wood with medium-grit sandpaper (100-grit) to remove surface imperfections, dust, and bumps that can prevent the spray paint from penetrating and adhering to the surface.
If the surface is riddled with stains and tannins, wet sand to prevent a build-up of dust. However, if you wet sand, you’ll have to wait a few hours until the surface dries.
3. Apply Primer
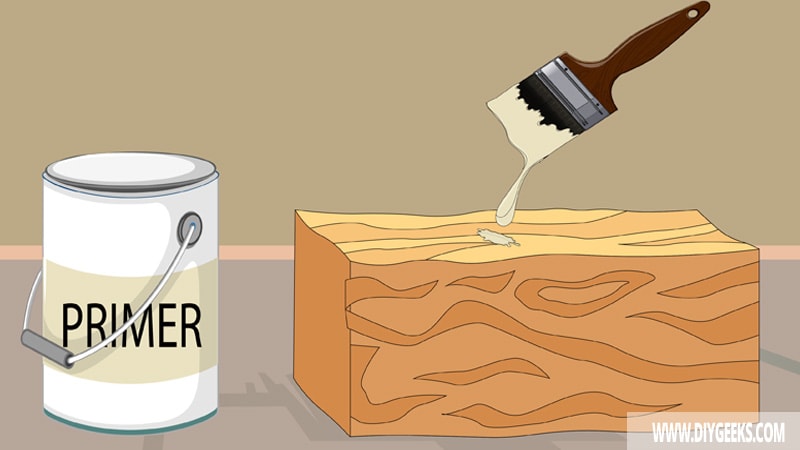
Apply two (2) primer coatings over the wooden surface using a sprayer or paintbrush. Wait until one coat dries, remove the excess, and apply the next coat.
If the wooden surface is perfect without imperfections, you don’t need to apply primer coatings.
4. Apply the Spray Paint
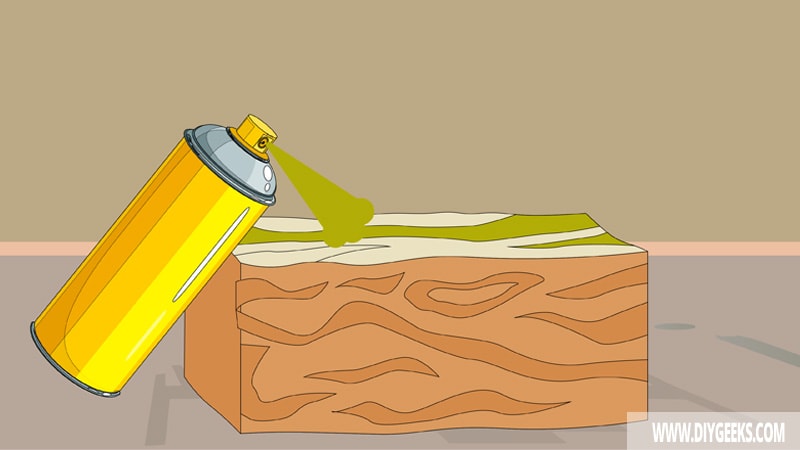
Apply 3-4 thin spray paint coats over the wooden surface. Wait until one coat dries, remove the excess, sand between coats, and apply the next coat.
Ensure to shake the sprayer can for 30 seconds before applying it to mix the content so the paint comes out smooth. Leave at least 8 inches between the sprayer nozzle and the surface, and don’t spray for too long on the same spot.
Is Sealing Sprayed Wood Necessary?
Sealing indoor sprayed wood isn’t necessary as the surface won’t be exposed to constant water or outdoor weather elements.
Sealing outdoor sprayed wood is necessary as the surface will be exposed to constant water and weather elements, such as rain or sun. If you don’t seal it, the finish will get washed off within a few weeks (or months).
The sealer will form a glossy moisture-resistant coating over the finish and protect it from moisture, water, scratches, and other damage. We recommend using exterior polyurethane, spar varnish, or lacquer, as a sealer.
FAQ’s
Does Spray Paint Protect Wood?
Spray paint protects the wood but the level of protection depends on the type you use. Water-based spray paints protect the wood from dust and stains but not from moisture or the elements.
Oil-based spray paints protect the surface from dents, moisture, and stains but not from UV rays. Rust-oleum paint protects the surface from heat, UV rays, and moisture. So it all depends on the type that you use.
However, if you want maximum protection, you should use exterior spray paint. They are formulated with chemicals that make their finish withstand heavy use, moisture, heat, and other environmental factors.
How Long Will Spray Paint Last Over Wood?
Spray paint will last over 3 years on wood, on average. However, its durability depends on the prep work carried out before it was applied, the type of spray paint and wood, and whether the finish is sealed or not.
How Long Does Spray Paint Take to Dry?
Spray paint dries within 2 hours over a wooden surface.
[sc name=”spray-paint-wood”][/sc]


